
Using SendGrid API with Azure Functions to send E-Mails.

Once in a lifetime, we all might have heard about the SMTP protocol. It is a method through which emails are sent using internet servers. However, when it comes to sending large batches of emails on behalf of any organization or individual, the SendGrid toolkit comes into play.
Sendgrid is an SMTP toolkit that is used to send large volumes of emails efficiently.
Let’s explore how to utilize the toolkit, azure functions, and python to deliver HTML form data as email.
The first step is to create your account on Sendgrid using the following link :
https://signup.sendgrid.com/
2. After the signup, the following window will open.
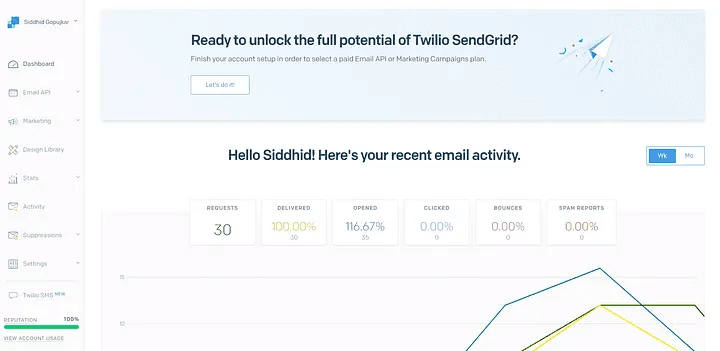
Dashboard
3. After the above step, select the setting option where you have to click on API keys.
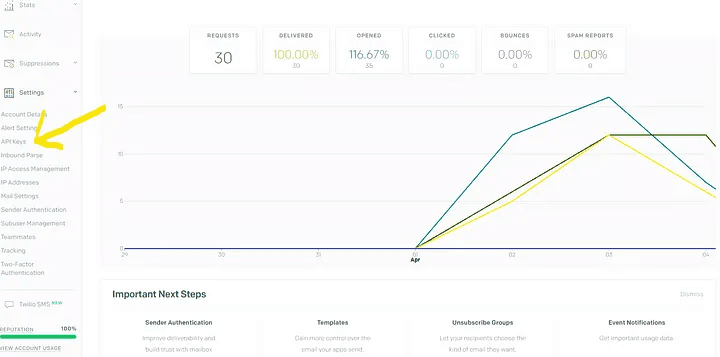
Setting option
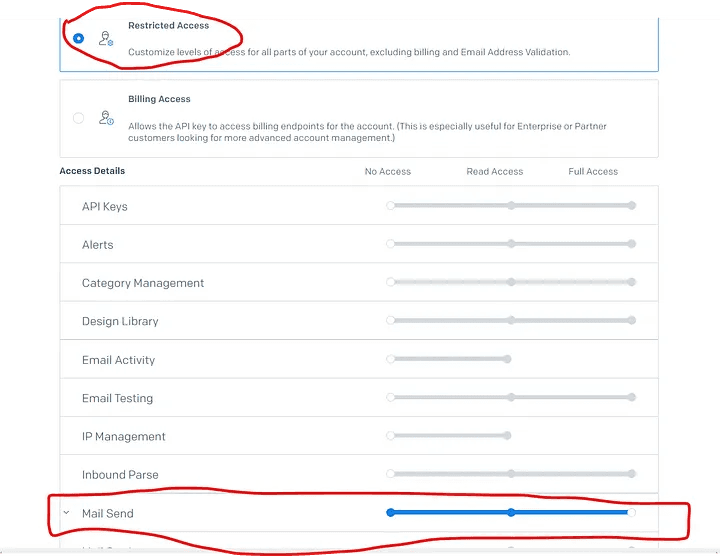
4. Now, select the Create API Key option and give name to the key. Select the option to create and view from the list below.
5. This API key will finally be generated. Copy the key and attempt to save it in some secure location.
6. It’s now time to set up a single sender for your SendGrid account. Please use the following link:
Single Sender Verification
To protect your sending reputation and to uphold legitimate sending behavior, we require customers to verify their…
docs.sendgrid.com
https://docs.sendgrid.com/ui/sending-email/sender-verification
7. We are ready to start once you have created the single sender account.
Now let’s send the HTML form data as an email. Follow the below steps :
Create an HTML file and HTML form, Here I have used the below HTML form.
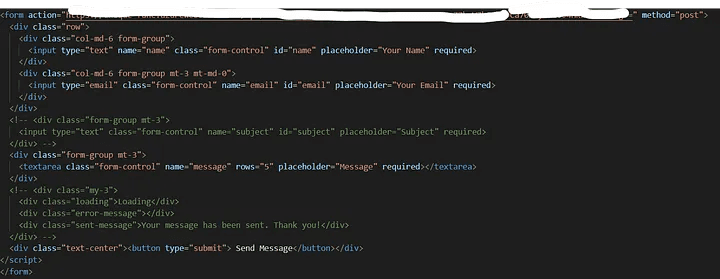
HTML form
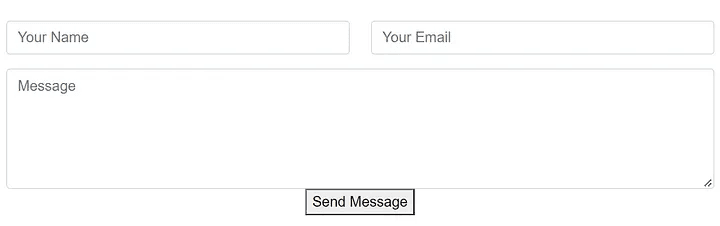
HTML form overview
2. After this, enter the Azure interface and create a new function. You must have an azure subscription to use an azure function.
3. Make sure you have the SendGrid Python library installed. In case it’s not installed, execute the following command in your terminal.
=> pip install sendgrid
After this open your python terminal and import the following libraries :
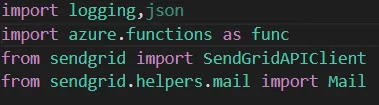
Code
4. Now in the following image we have created a function where the data is extracted from the HTML form and then sent in the form of an email.
5. The details in the image below will be filled in as follows:
From_email = This field will contain the sender’s identity email, which we created with SendGrid.
To_email = the email address of the recipient.
API key = This is the API key that you generated with SendGrid.
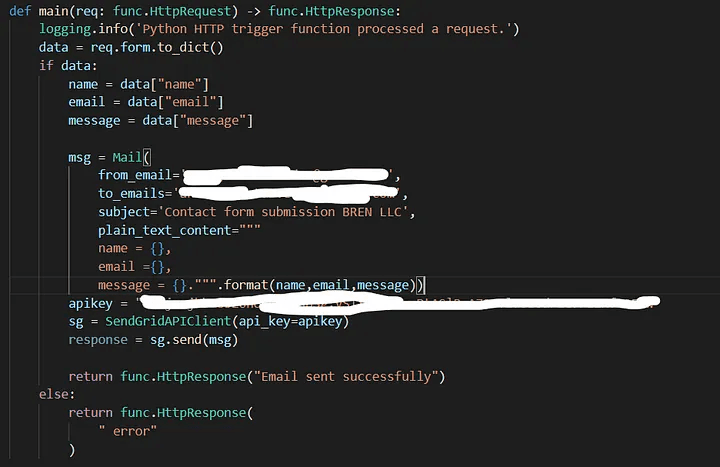
Code to send Mail
6. After this, paste the following URL into your HTML form:
<form action = “azure function URL” method = post>
After this, we are ready to go proceed further.
7.Execute the HTML file and fill out the form. Select the Send Message option.
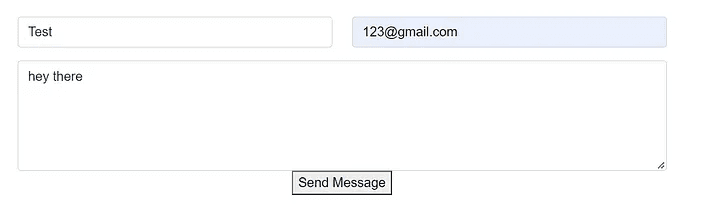
HTML form
8. The following window will appear :

Output Window
9. Just check your email.
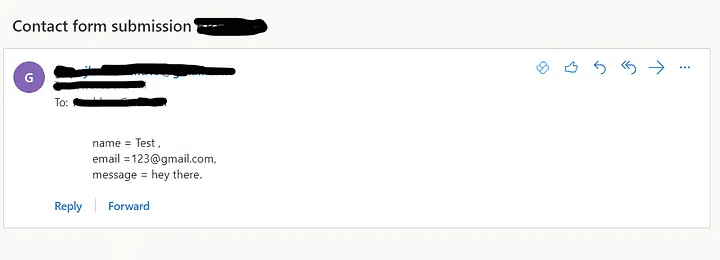
Email Verification
Now, the method described above is for a single user, but if you want to send emails to multiple people, simply modify your code .
You must enter the emails to be sent in the “to emails” section of the code. Now you can send bundles of emails to anyone with efficiency.
Happy Coding !! Thank You 👍🏻
Once in a lifetime, we all might have heard about the SMTP protocol. It is a method through which emails are sent using internet servers. However, when it comes to sending large batches of emails on behalf of any organization or individual, the SendGrid toolkit comes into play.
Sendgrid is an SMTP toolkit that is used to send large volumes of emails efficiently.
Let’s explore how to utilize the toolkit, azure functions, and python to deliver HTML form data as email.
The first step is to create your account on Sendgrid using the following link :
https://signup.sendgrid.com/
2. After the signup, the following window will open.
Dashboard
3. After the above step, select the setting option where you have to click on API keys.
Setting option
4. Now, select the Create API Key option and give name to the key. Select the option to create and view from the list below.
5. This API key will finally be generated. Copy the key and attempt to save it in some secure location.
6. It’s now time to set up a single sender for your SendGrid account. Please use the following link:
Single Sender Verification
To protect your sending reputation and to uphold legitimate sending behavior, we require customers to verify their…
docs.sendgrid.com
https://docs.sendgrid.com/ui/sending-email/sender-verification
7. We are ready to start once you have created the single sender account.
Now let’s send the HTML form data as an email. Follow the below steps :
Create an HTML file and HTML form, Here I have used the below HTML form.
HTML form
HTML form overview
2. After this, enter the Azure interface and create a new function. You must have an azure subscription to use an azure function.
3. Make sure you have the SendGrid Python library installed. In case it’s not installed, execute the following command in your terminal.
=> pip install sendgrid
After this open your python terminal and import the following libraries :
Code
4. Now in the following image we have created a function where the data is extracted from the HTML form and then sent in the form of an email.
5. The details in the image below will be filled in as follows:
From_email = This field will contain the sender’s identity email, which we created with SendGrid.
To_email = the email address of the recipient.
API key = This is the API key that you generated with SendGrid.
Code to send Mail
6. After this, paste the following URL into your HTML form:
<form action = “azure function URL” method = post>
After this, we are ready to go proceed further.
7.Execute the HTML file and fill out the form. Select the Send Message option.
HTML form
8. The following window will appear :
Output Window
9. Just check your email.
Email Verification
Now, the method described above is for a single user, but if you want to send emails to multiple people, simply modify your code .
You must enter the emails to be sent in the “to emails” section of the code. Now you can send bundles of emails to anyone with efficiency.
Happy Coding !! Thank You 👍🏻