Hosting a website for free, and secured via HTTPS
Nowadays, getting a website is not a particularly difficult job, but practically everyone wants to know how to build it for free.
Therefore, you will learn all the processes required to build a free website through this blog.
The process’s two most crucial concepts must first be understood, though. You will need a domain name before you can build a website for free.
A domain name is an Internet resource name that is universally understood by Web servers and online organizations and provides all pertinent destination information. To access an organization’s Web-based services, website users must know the precise domain name.
You will also want a service that will offer free web hosting for your website in addition to a domain name. Numerous platforms offer free web hosting services, including:
Cloudflare
Hostinger
Wix
InfinityFree
Free hosting
AwardSpace etc…
Web hosting is an online service that allows you to publish your website files onto the internet. So, anyone who has access to the internet has access to your website. In practice, it usually refers to the service you get from a web hosting provider like one.com.
While you can theoretically host an actual server for your website at home, relying on a web hosting service provider offers lots of benefits.
Let’s now build a website without cost. Follow the instructions below:
The first step is getting a free domain name from “Freenom”.
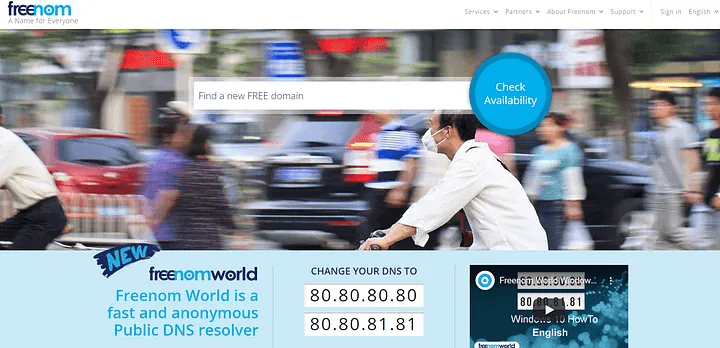
Freenom
2. Next, look up the availability of the domain name you want to use. As an example, let’s use consultanubhav.ml as the domain name.
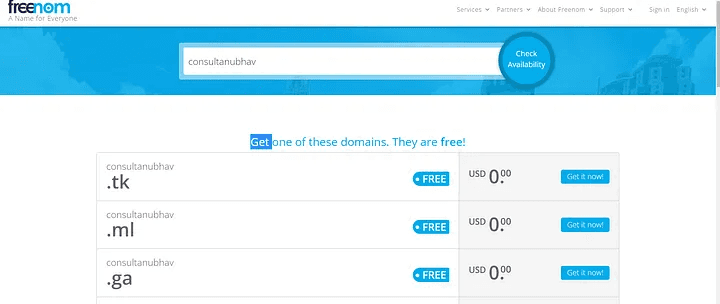
Availability of Domain Name
3. After that add the domain name to the cart and checkout!
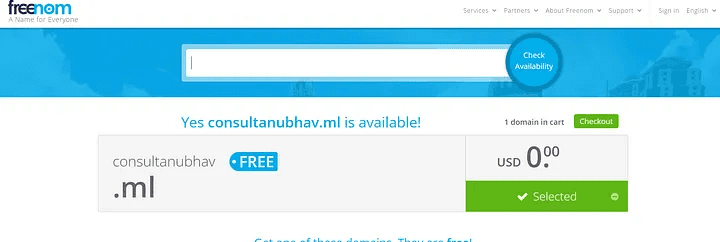
Checkout
4. After checkout, select the desired period of time, for which you wish to use the domain name from the drop-down menu.
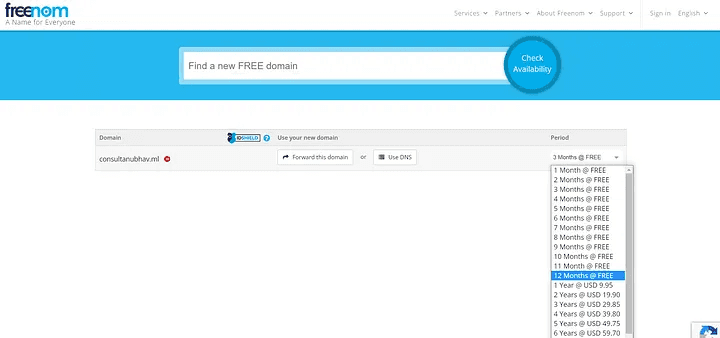
Pick a Duration
5. The registered email address will get a verification link. Click the link, then fill out the form. Click Complete Order after accepting the terms and conditions to obtain your own domain name!
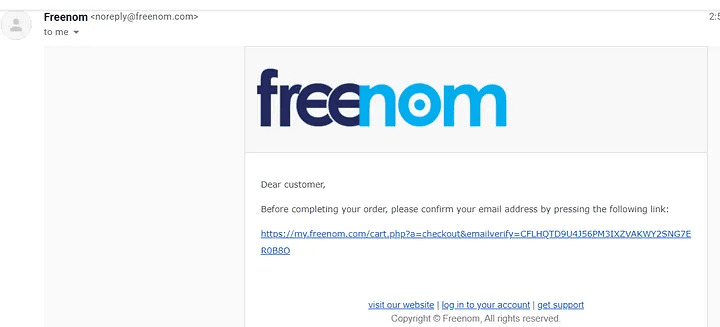
Email Confirmation
6. Next step is to find my domain under the services section.
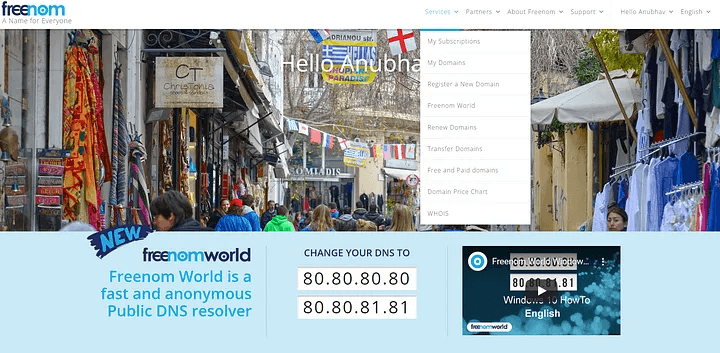
Find Your Domain
7. Here in Manage Domains, find Manage Freenom DNS.
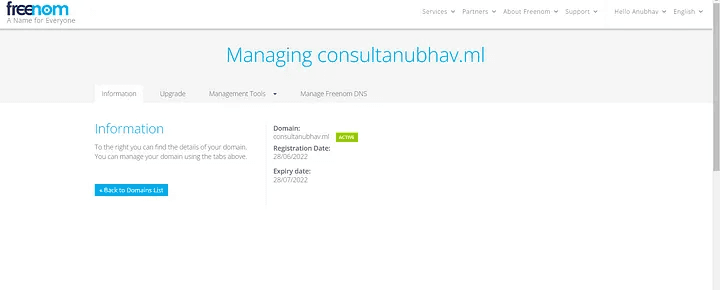
Manage Domain
8. Now input the desired name that you wish to display before your domain name in the name area. In the destination area, enter the server’s IP address, and then save the record.
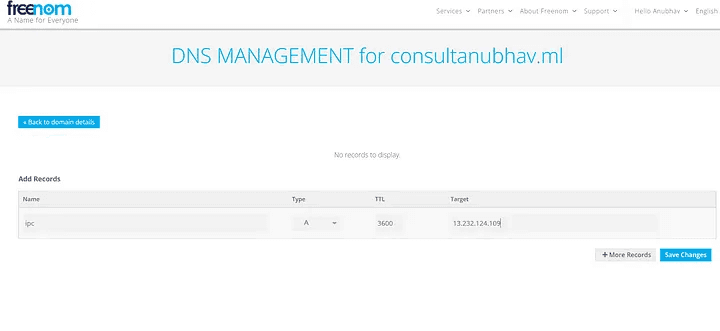
Enter your details
9. You will be able to witness your website become active on a DNS checker within 24 to 48 hours.
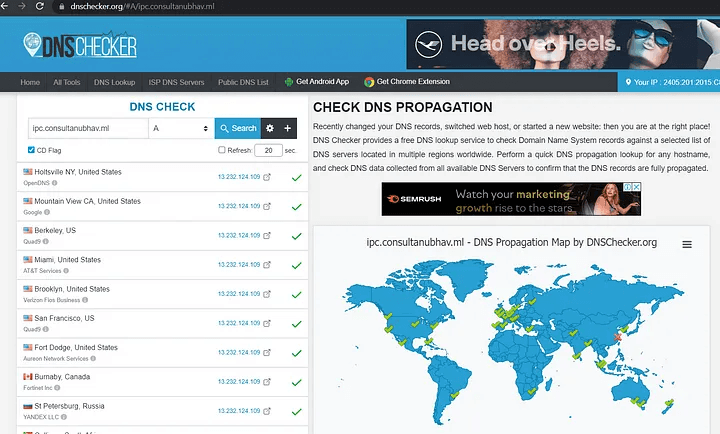
DNS checker
10. Enter the domain name and port number to see your site on your devices.
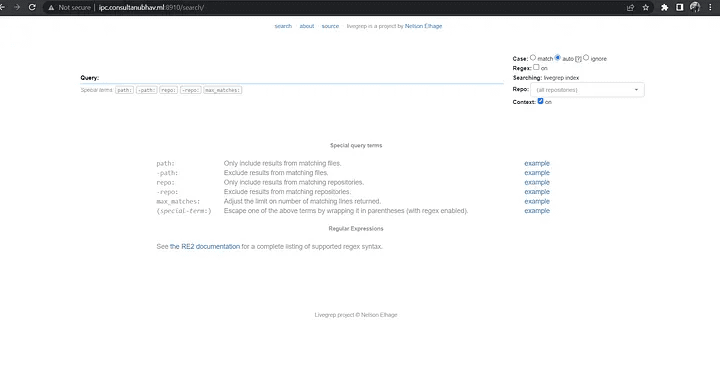
Enter your domain Name
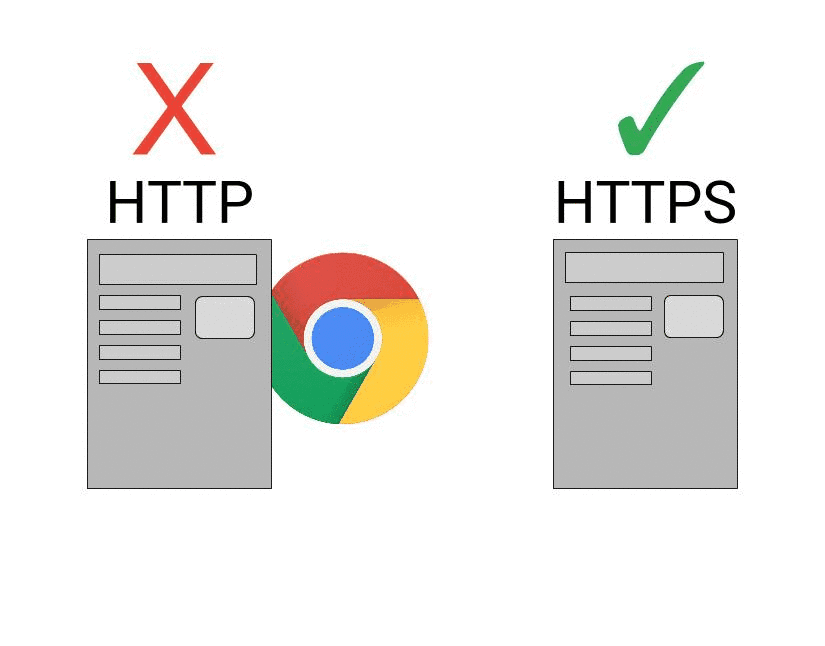
11. Our website has been built using HTTP up to this point. We now wish to switch from HTTP to HTTPS.
For the conversion, run the following commands :
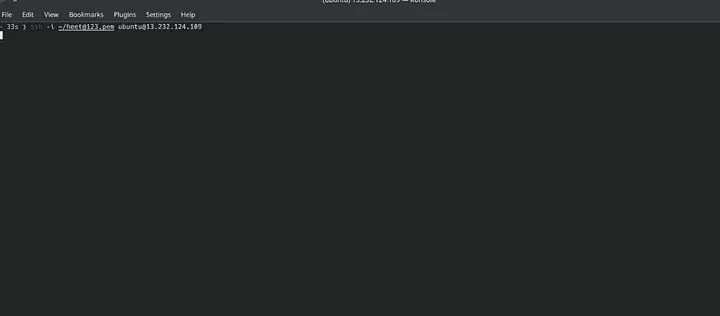
a. ssh -I (Pin Key)ubuntu@(ip address)
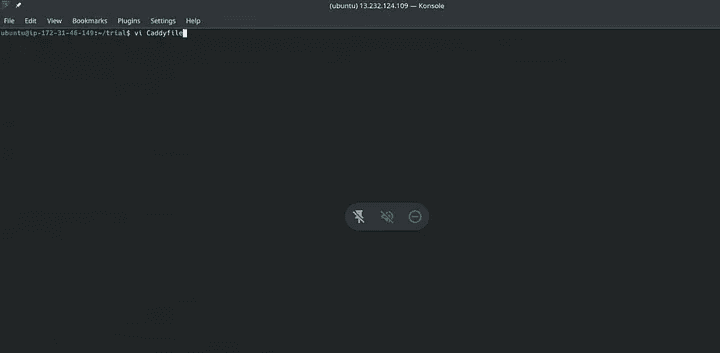
b. vi caddyfile
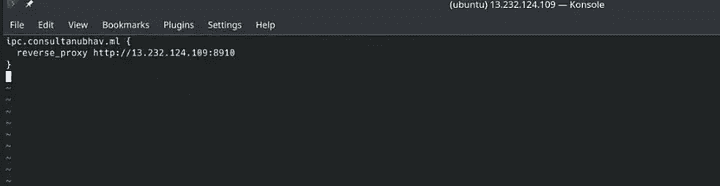
c. ipc.consultanubhav.ml
{
reverse_proxy http://13.232.124.109:8910
}
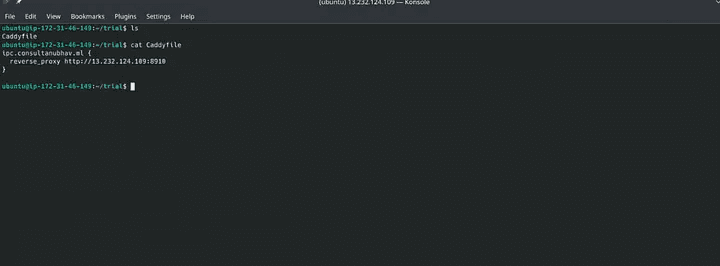
d. ls caddyfile
cat caddyfile
e. sudo caddy start
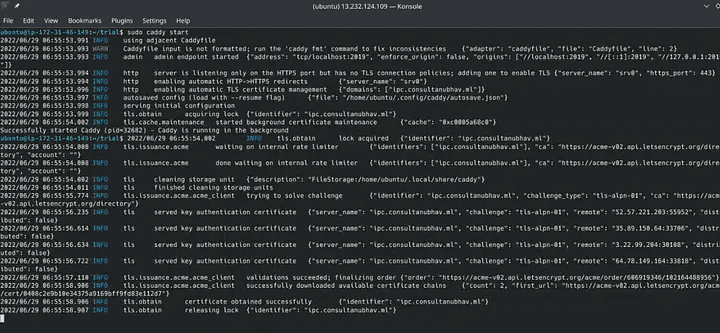
Your website is now complete.
I hope this article was informative and provided you with the details you required. If you have any questions while reading the blog, message me on Instagram or LinkedIn.For any kind of work related to DevOps, Site Reliability you can contact me at helpmeanubhav@gmail.com
Thank You…
Nowadays, getting a website is not a particularly difficult job, but practically everyone wants to know how to build it for free.
Therefore, you will learn all the processes required to build a free website through this blog.
The process’s two most crucial concepts must first be understood, though. You will need a domain name before you can build a website for free.
A domain name is an Internet resource name that is universally understood by Web servers and online organizations and provides all pertinent destination information. To access an organization’s Web-based services, website users must know the precise domain name.
You will also want a service that will offer free web hosting for your website in addition to a domain name. Numerous platforms offer free web hosting services, including:
Cloudflare
Hostinger
Wix
InfinityFree
Free hosting
AwardSpace etc…
Web hosting is an online service that allows you to publish your website files onto the internet. So, anyone who has access to the internet has access to your website. In practice, it usually refers to the service you get from a web hosting provider like one.com.
While you can theoretically host an actual server for your website at home, relying on a web hosting service provider offers lots of benefits.
Let’s now build a website without cost. Follow the instructions below:
The first step is getting a free domain name from “Freenom”.
Freenom
2. Next, look up the availability of the domain name you want to use. As an example, let’s use consultanubhav.ml as the domain name.
Availability of Domain Name
3. After that add the domain name to the cart and checkout!
Checkout
4. After checkout, select the desired period of time, for which you wish to use the domain name from the drop-down menu.
Pick a Duration
5. The registered email address will get a verification link. Click the link, then fill out the form. Click Complete Order after accepting the terms and conditions to obtain your own domain name!
Email Confirmation
6. Next step is to find my domain under the services section.
Find Your Domain
7. Here in Manage Domains, find Manage Freenom DNS.
Manage Domain
8. Now input the desired name that you wish to display before your domain name in the name area. In the destination area, enter the server’s IP address, and then save the record.
Enter your details
9. You will be able to witness your website become active on a DNS checker within 24 to 48 hours.
DNS checker
10. Enter the domain name and port number to see your site on your devices.
Enter your domain Name
11. Our website has been built using HTTP up to this point. We now wish to switch from HTTP to HTTPS.
For the conversion, run the following commands :
a. ssh -I (Pin Key)ubuntu@(ip address)
b. vi caddyfile
c. ipc.consultanubhav.ml
{
reverse_proxy http://13.232.124.109:8910
}
d. ls caddyfile
cat caddyfile
e. sudo caddy start
Your website is now complete.
I hope this article was informative and provided you with the details you required. If you have any questions while reading the blog, message me on Instagram or LinkedIn.For any kind of work related to DevOps, Site Reliability you can contact me at helpmeanubhav@gmail.com
Thank You…