
Making an Android Application Live on Google Play Store
As developers we build numerous applications on a daily basis to meet certain business needs while also coming up with some fascinating ideas. Developing and creating applications involves many different aspects, but making an app live on Google Play (for Android users) is where most people get stuck. So, in this blog, I’ve attempted to share a consolidated path through which any novice can make any application live.
Before we proceed, let us first define the phases that a specific application goes through.
There are basically 3 types of testing that an application goes through:
Internal testing: This type of testing makes the application available to up to 100 testers you select. It’s also known as white-box testing because all of the application’s details are visible. Access to the application is only granted to those whose email addresses have been added to the list of testers.
Closed testing: This type of testing is used to test the application’s final or pre-release version. Closed testing makes the application available to a select group of testers who can test a pre-release version of your app and provide feedback.
Open testing: Certain features of the application, such as performance, stability, and access, are tested on various Android devices. The application is now available for testing on Google Play thanks to open testing. Users can sign up for tests from your store’s listing.
Production release: Production releases are available to all Google Play users in your chosen countries.
Go to the Google Play Console using the following website:
Google Play Console | Google Play Console
Access tools, programs, and insights that will help you reach and engage users so you can grow your apps and games.
www.googleadservices.com
2. Click the Play console when you see the following window.
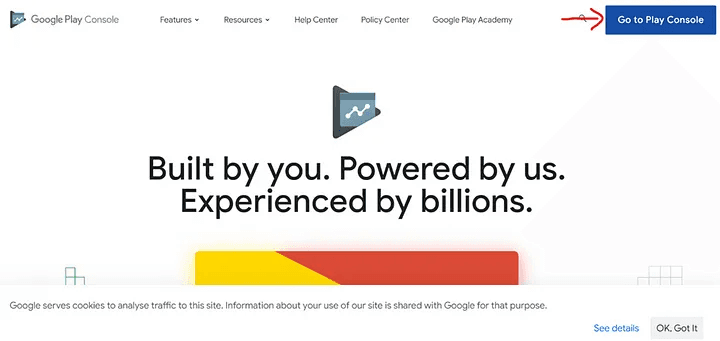
Google Play Console
3. Select the developer account with which you created the application.
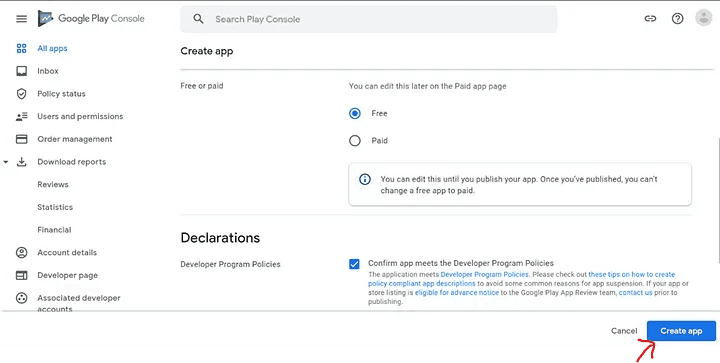
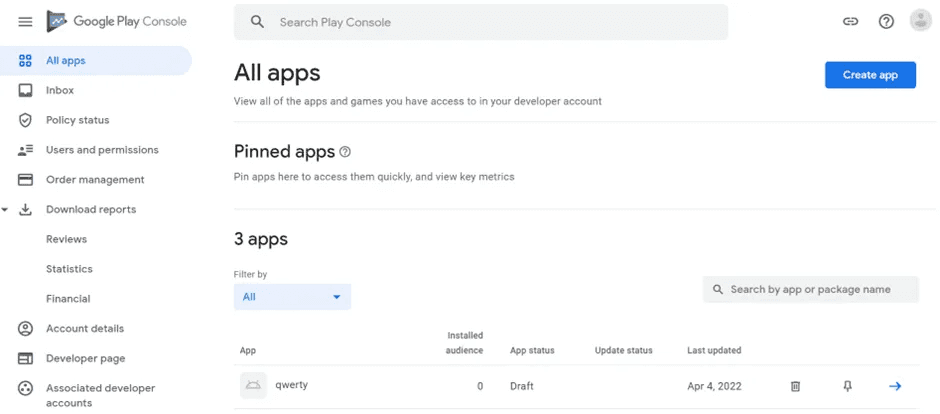
4. The below shown window will appear; click on the Create App button.
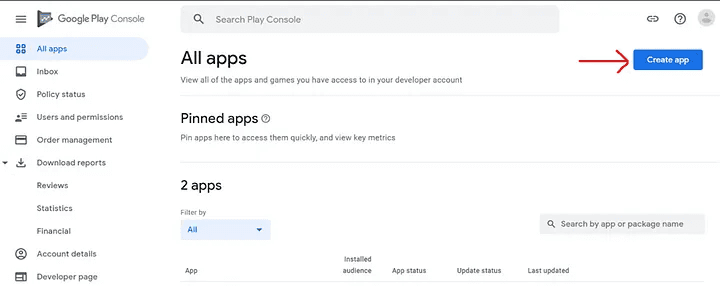
Click on Create App
5. Fill out all of the required information about your application and then click Create App. For example, in this case, we created an app called Qwerty, which is available for free on the Google Play store.
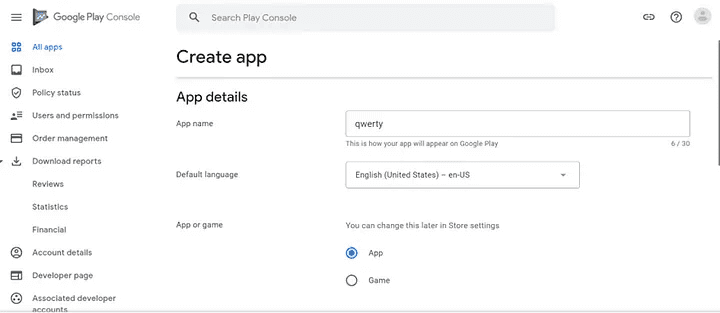
Detail of Qwerty App
Final Option
6. After that, proceed to set up your app and fill in the required data for your app.
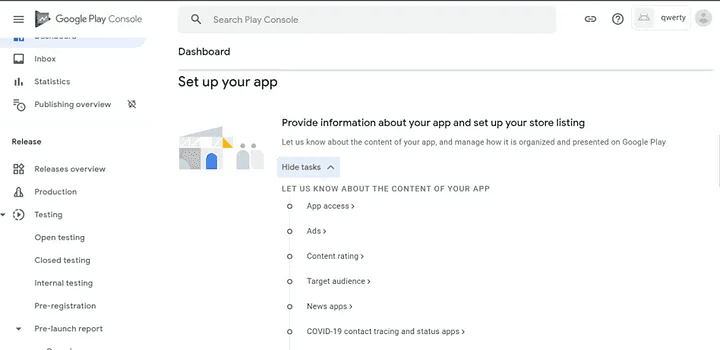
Setting up the Application
7. When you click Start Testing Now, the following window will appear.
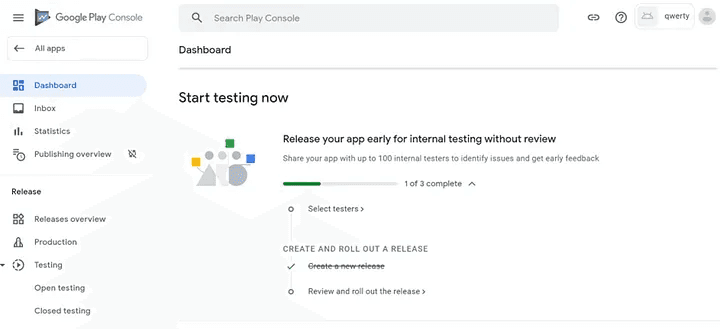
Tests Your App
8. Now select and add the testers that you want to add.
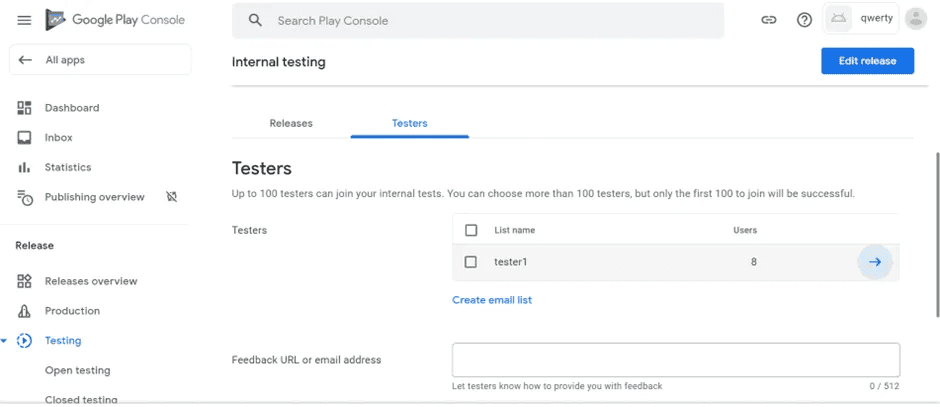
Add testers
9. Then, select Open Testing and browse to the .aab file. Following this step, testing will begin and will take some time.
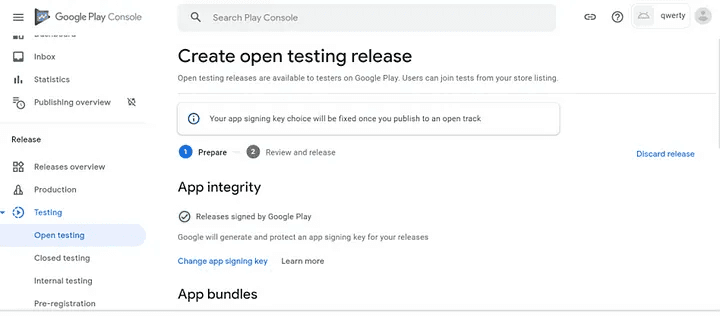
Open Testing
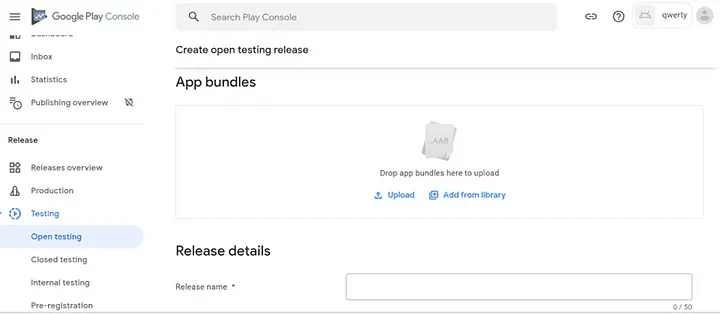
App Bundles
10. Now that we’ve completed open testing, it’s time to move on to closed testing. Choose closed testing.
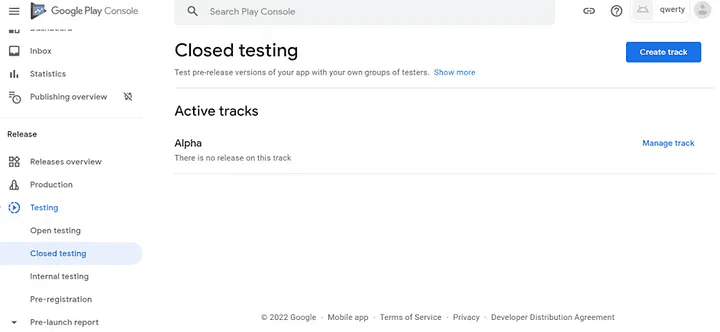
Closed Testing
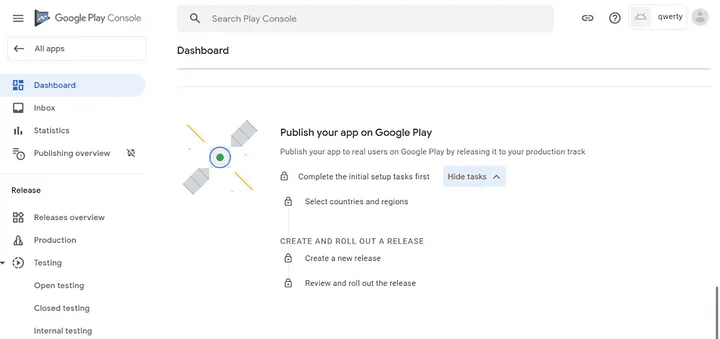
11. Internal testing is required prior to going live with the application.
12. The application is ready to go live on the Google Play store once internal testing is completed. Choose to publish your application on Google Play.
Publish your App
13. There is also an option to release the application without going through the above testing procedures.
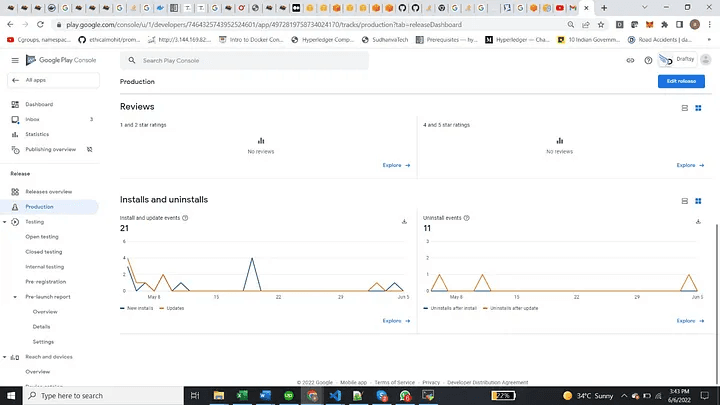
Release Dashboard
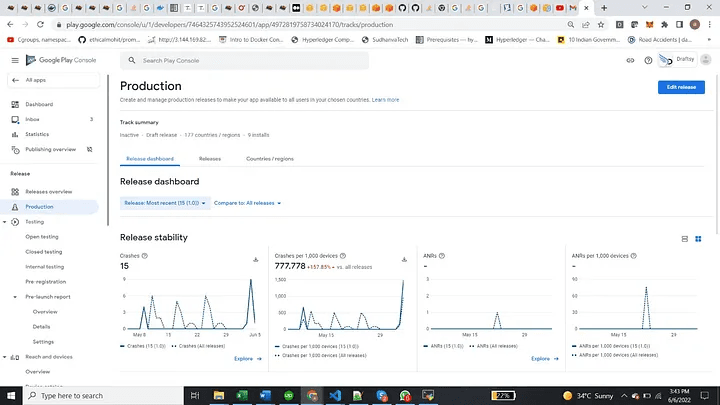
Dashboard
14. After this, select the option view release dashboard from the release dashboard. Select the Releases tab, then Edit.
15. For the review part, select Review release. You’ll be taken to the “Review and release” screen, where you can make sure there aren’t any issues with your release before rolling it out to users.
Review
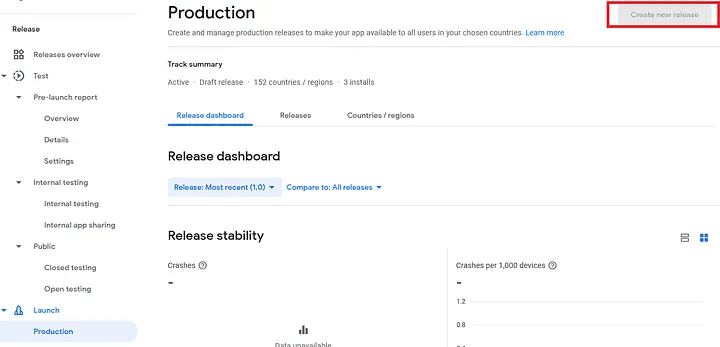
16. Finally, click the Start Rollout button. This will make the app available to all Google Play users in the countries you specify.
Review changes
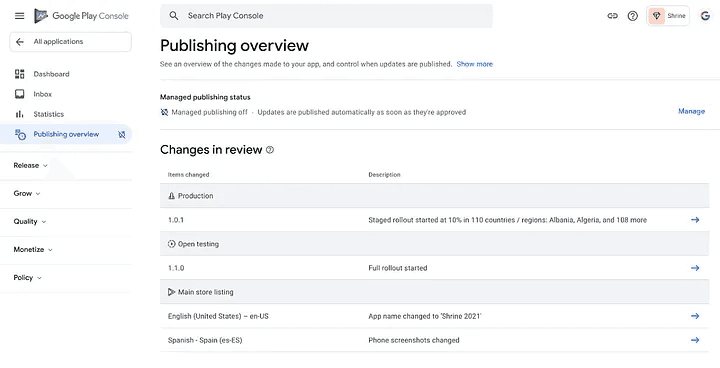
13. After publishing, it will take 7–8 days to review the application.
Applications Overview
In order to download the .apk files, follow the below steps:
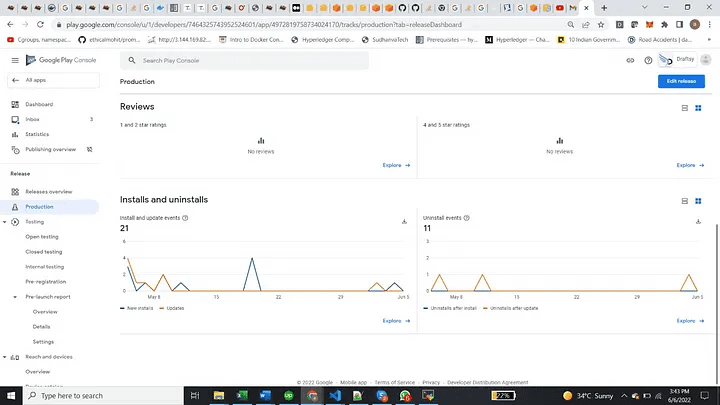
In the google play console, click on the production section.

Production Section
2. Now select the closed testing option.
Dashboard
3. In the closed testing section, select the track that you want to manage(and download the .apk file)
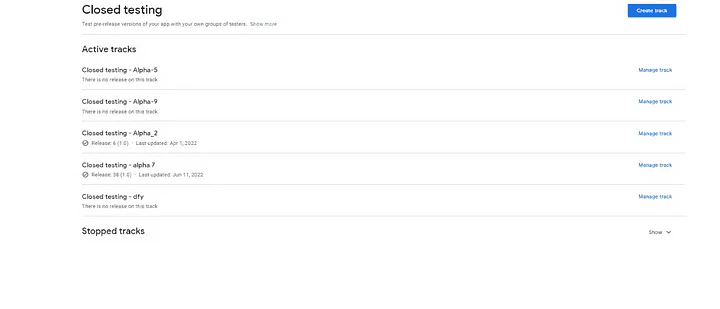
Closed Testing
4. After this, select the view releases option.
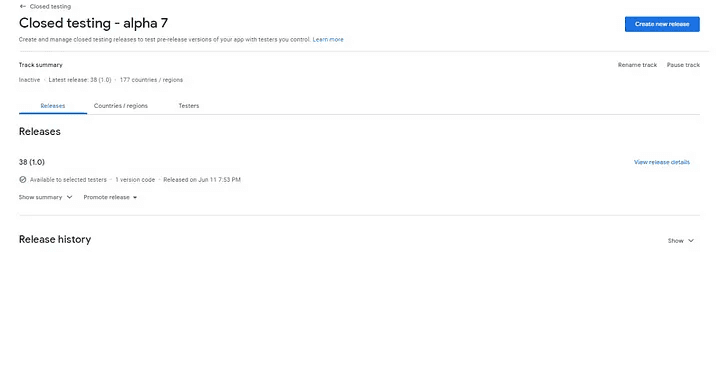
Choose view release
4. Now, click on the view release details. The following window will appear.
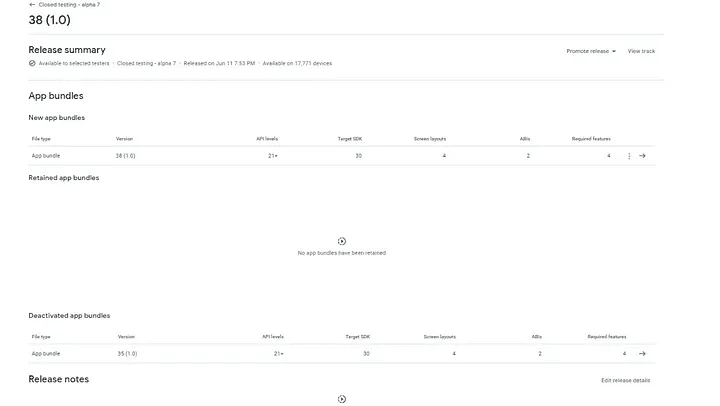
Releases
5. Now, click on the extreme right arrow.
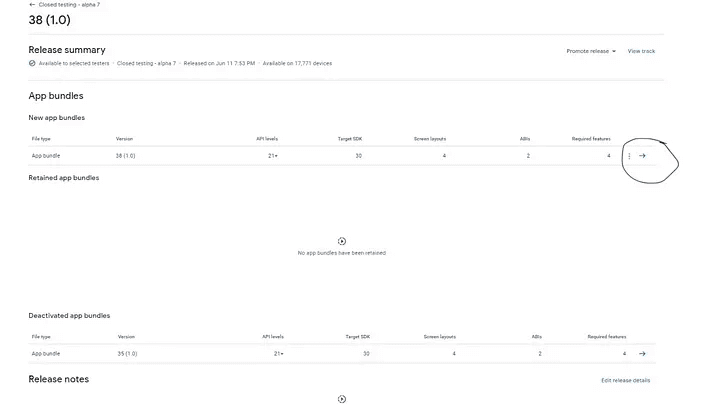
Click on the right arrow
6. Finally, the following window will appear from where you can download the .apk file.
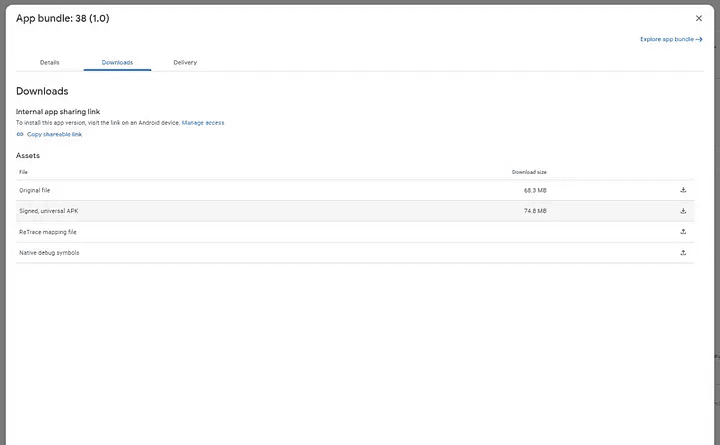
Download the .apk File
Congratulations !! 🎉🎉 Your application is finally live on the Google Play Store !!
You can DM me on Linkedin or Instagram if you have any further questions about Python Development, Coding, Blogging, or Tech Documentation. Special credits to my team members: Siddhid and Anshika
Thank you !!!
As developers we build numerous applications on a daily basis to meet certain business needs while also coming up with some fascinating ideas. Developing and creating applications involves many different aspects, but making an app live on Google Play (for Android users) is where most people get stuck. So, in this blog, I’ve attempted to share a consolidated path through which any novice can make any application live.
Before we proceed, let us first define the phases that a specific application goes through.
There are basically 3 types of testing that an application goes through:
Internal testing: This type of testing makes the application available to up to 100 testers you select. It’s also known as white-box testing because all of the application’s details are visible. Access to the application is only granted to those whose email addresses have been added to the list of testers.
Closed testing: This type of testing is used to test the application’s final or pre-release version. Closed testing makes the application available to a select group of testers who can test a pre-release version of your app and provide feedback.
Open testing: Certain features of the application, such as performance, stability, and access, are tested on various Android devices. The application is now available for testing on Google Play thanks to open testing. Users can sign up for tests from your store’s listing.
Production release: Production releases are available to all Google Play users in your chosen countries.
Go to the Google Play Console using the following website:
Google Play Console | Google Play Console
Access tools, programs, and insights that will help you reach and engage users so you can grow your apps and games.
www.googleadservices.com
2. Click the Play console when you see the following window.
Google Play Console
3. Select the developer account with which you created the application.
4. The below shown window will appear; click on the Create App button.
Click on Create App
5. Fill out all of the required information about your application and then click Create App. For example, in this case, we created an app called Qwerty, which is available for free on the Google Play store.
Detail of Qwerty App
Final Option
6. After that, proceed to set up your app and fill in the required data for your app.
Setting up the Application
7. When you click Start Testing Now, the following window will appear.
Tests Your App
8. Now select and add the testers that you want to add.
Add testers
9. Then, select Open Testing and browse to the .aab file. Following this step, testing will begin and will take some time.
Open Testing
App Bundles
10. Now that we’ve completed open testing, it’s time to move on to closed testing. Choose closed testing.
Closed Testing
11. Internal testing is required prior to going live with the application.
12. The application is ready to go live on the Google Play store once internal testing is completed. Choose to publish your application on Google Play.
Publish your App
13. There is also an option to release the application without going through the above testing procedures.
Release Dashboard
Dashboard
14. After this, select the option view release dashboard from the release dashboard. Select the Releases tab, then Edit.
15. For the review part, select Review release. You’ll be taken to the “Review and release” screen, where you can make sure there aren’t any issues with your release before rolling it out to users.
Review
16. Finally, click the Start Rollout button. This will make the app available to all Google Play users in the countries you specify.
Review changes
13. After publishing, it will take 7–8 days to review the application.
Applications Overview
In order to download the .apk files, follow the below steps:
In the google play console, click on the production section.
Production Section
2. Now select the closed testing option.
Dashboard
3. In the closed testing section, select the track that you want to manage(and download the .apk file)
Closed Testing
4. After this, select the view releases option.
Choose view release
4. Now, click on the view release details. The following window will appear.
Releases
5. Now, click on the extreme right arrow.
Click on the right arrow
6. Finally, the following window will appear from where you can download the .apk file.
Download the .apk File
Congratulations !! 🎉🎉 Your application is finally live on the Google Play Store !!
You can DM me on Linkedin or Instagram if you have any further questions about Python Development, Coding, Blogging, or Tech Documentation. Special credits to my team members: Siddhid and Anshika
Thank you !!!