Building your first Azure Blockchain Workbench Ethereum based application
When it comes to Blockchain , often developers complain about lot of time being spent in troubleshooting installation and deployment issues. What if I say with Microsoft Azure you can deploy your applications rapidly without even going into any installation or deployment hustle, with only some provisioning required.
With this devs will be able to focus upon implementing Business logic and their productivity shall increase:
Developers Reaction
Lets see the procedure step by step:
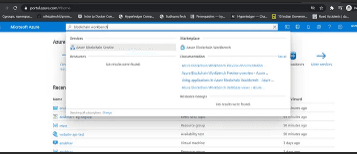
Just login into your account: portal.azure.com and search for the service of “Blockchain Workbench” => from the marketplace select Azure Blockchain Workbench.
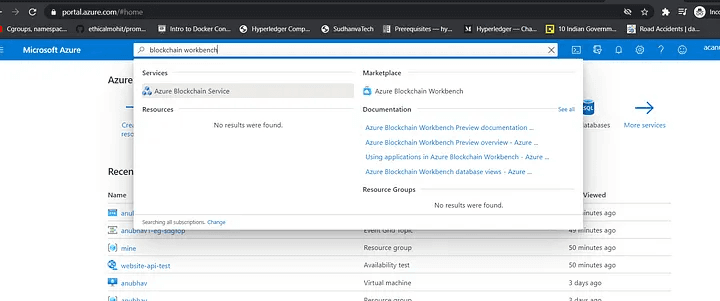
Azure Blockchain Workbench
2.Once you have clicked upon it , you will go to another window which looks something like this, consisting of all details about this service, just press upon create :
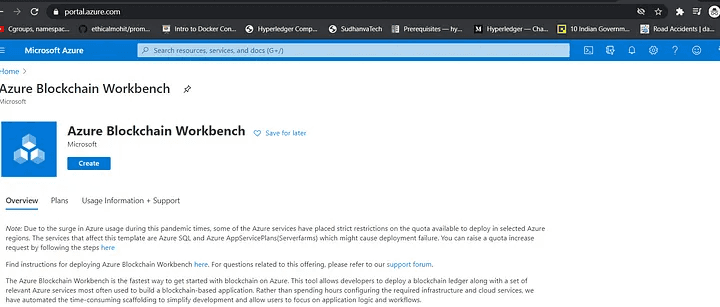
Azure Blockchain workbench
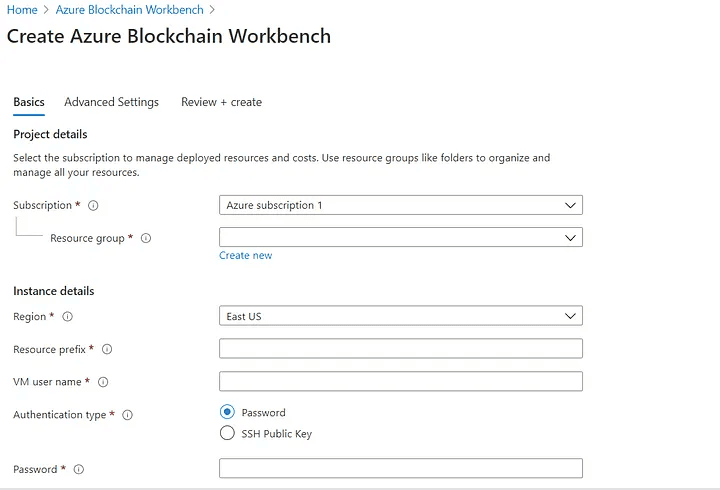
3.Once you have pressed upon Create, you will be taken to the next page asking for all details regarding the service, you can fill them one by one:
4.Once you have filled all the details, it will go to the next level of provisioning of this service , this might take about 25 mins. Once it gets over you will get an acknowledgment as shown below in the pic stating your deployment is complete:
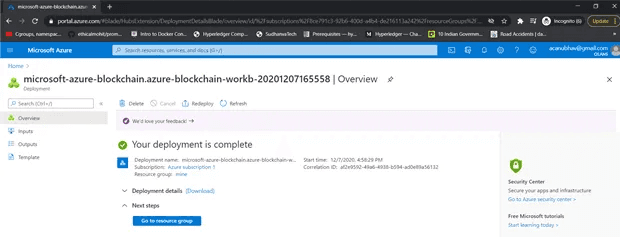
5.Just go into the outputs section on the Left, and you will receive one URL, for me it was “https://anubhav1-sdgfop-api.azurewebsites.net”:
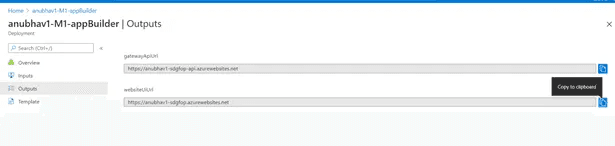
6.Once you open that link, you will be required to register this application in the Active Directory link via PowerShell, just execute those instructions and you will see :
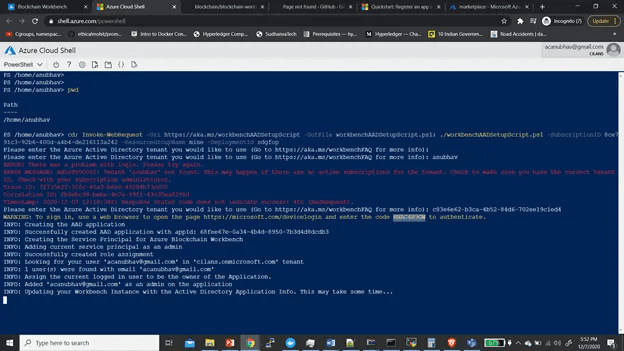
Powershell commands to be entered
7)Once you have successfully completed this integration, you will see an acknowledgement like this:

8)You can go to the link “https://anubhav1-sdgfop-api.azurewebsites.net” (link in the outputs) and the route “/applications” into it making =>”https://anubhav1-sdgfop-api.azurewebsites.net/applications”.You should be able to see the window below.
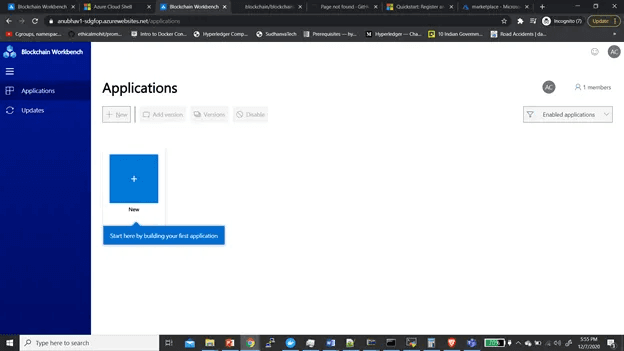
9)Go to the option of Deploying the new Application , select your Ethereum JSON file along with the Smart Contract Solidity file.
I had selected the files for my contract of Asset Transfer, for reference you can refer to the files given in the link:
aniforverizon/AzureBlockchainSmartContracts
GitHub is home to over 50 million developers working together to host and review code, manage projects, and build…
github.com
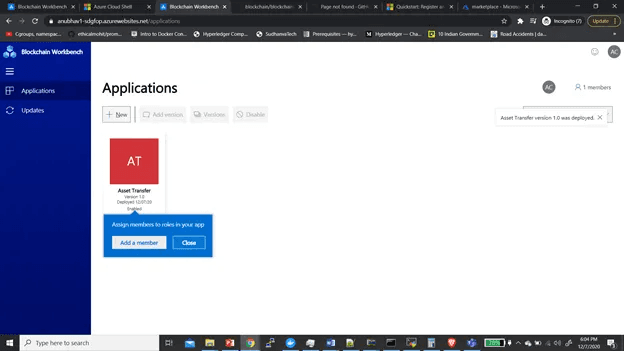
10)Your application will get deployed , you can now add members via Email ID’s of people, with different roles:
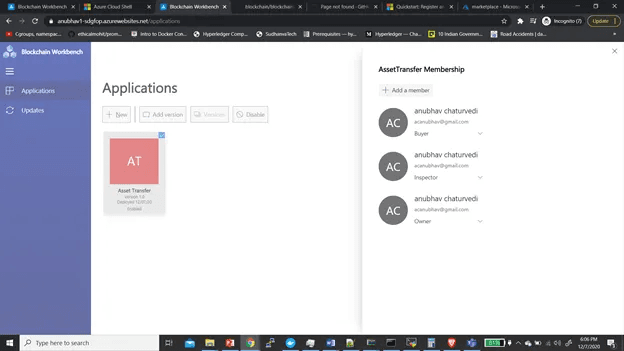
I have added 3 members with 3 different role s (Buyer, Inspector and Owner)as you can see in the pic below:
11)We can now add the records and start to track them:
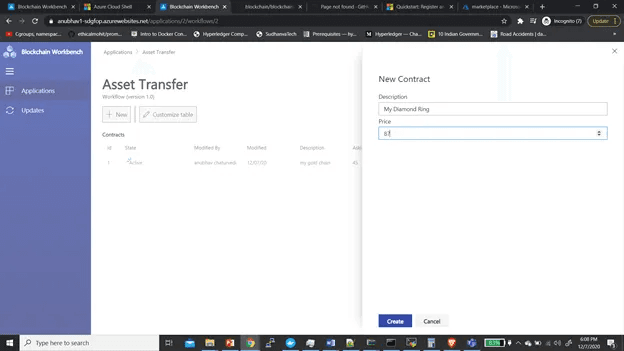
12)One of the records that I added , later modified of a diamond ring can be seen as below:
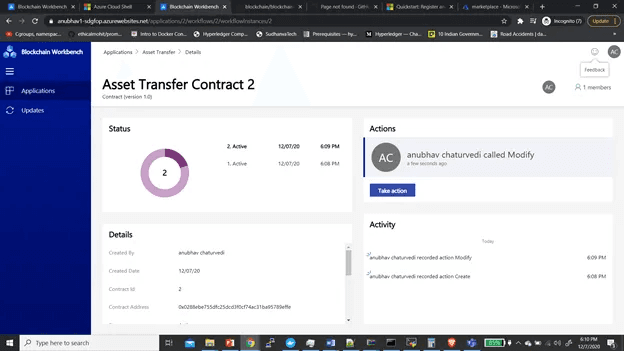
Tracking of records.
I will be publishing more Microsoft Azure based simple solutions. For any further Queries or anything related to this article or Golang you can DM me on Linkedin or instagram id=acanubhav94.
When it comes to Blockchain , often developers complain about lot of time being spent in troubleshooting installation and deployment issues. What if I say with Microsoft Azure you can deploy your applications rapidly without even going into any installation or deployment hustle, with only some provisioning required.
With this devs will be able to focus upon implementing Business logic and their productivity shall increase:
Developers Reaction
Lets see the procedure step by step:
Just login into your account: portal.azure.com and search for the service of “Blockchain Workbench” => from the marketplace select Azure Blockchain Workbench.
Azure Blockchain Workbench
2.Once you have clicked upon it , you will go to another window which looks something like this, consisting of all details about this service, just press upon create :
Azure Blockchain workbench
3.Once you have pressed upon Create, you will be taken to the next page asking for all details regarding the service, you can fill them one by one:
4.Once you have filled all the details, it will go to the next level of provisioning of this service , this might take about 25 mins. Once it gets over you will get an acknowledgment as shown below in the pic stating your deployment is complete:
5.Just go into the outputs section on the Left, and you will receive one URL, for me it was “https://anubhav1-sdgfop-api.azurewebsites.net”:
6.Once you open that link, you will be required to register this application in the Active Directory link via PowerShell, just execute those instructions and you will see :
Powershell commands to be entered
7)Once you have successfully completed this integration, you will see an acknowledgement like this:
8)You can go to the link “https://anubhav1-sdgfop-api.azurewebsites.net” (link in the outputs) and the route “/applications” into it making =>”https://anubhav1-sdgfop-api.azurewebsites.net/applications”.You should be able to see the window below.
9)Go to the option of Deploying the new Application , select your Ethereum JSON file along with the Smart Contract Solidity file.
I had selected the files for my contract of Asset Transfer, for reference you can refer to the files given in the link:
aniforverizon/AzureBlockchainSmartContracts
GitHub is home to over 50 million developers working together to host and review code, manage projects, and build…
github.com
10)Your application will get deployed , you can now add members via Email ID’s of people, with different roles:
I have added 3 members with 3 different role s (Buyer, Inspector and Owner)as you can see in the pic below:
11)We can now add the records and start to track them:
12)One of the records that I added , later modified of a diamond ring can be seen as below:
Tracking of records.
I will be publishing more Microsoft Azure based simple solutions. For any further Queries or anything related to this article or Golang you can DM me on Linkedin or instagram id=acanubhav94.